Flutter レイアウトの基本 ——Stack 重ねレイアウト#
重ねレイアウトは、子ビューが重なり合い、親ビューの境界に対して位置を確認できる場合に適しています。
例えば、画像の上に文字を加えたり、ボタンの上にグラデーションの影を加えたりすることができます。
Stack Widget の子ビューは、positionedまたはnon-positionedのいずれかです。Positioned子ビューとは、Positionedウィジェットで囲まれた子ビューを指し、Stackに対してtop、bottom、left、right属性を設定することで自身の位置を確認します。このうち、少なくとも 1 つは空であってはなりません。
Stack Widget のサイズは、すべてのnon-positioned子ビューに依存します。non-positioned子ビューの位置は、alignment属性によって決まります(alignmentがleft-to-rightの場合、子ビューはデフォルトで左上から始まり、alignmentがright-to-leftの場合、子ビューは右上から始まります)。
Stack 基本使用#
Stack の一般的な属性#
- Stack の一般的な属性
- children:子ビュー
- alignment:子ビューの整列方法
- topLeft:上部左揃え
- topCenter:上部中央揃え
- topRight:上部右揃え
- centerLeft:中央左揃え
- center:中央揃え
- centerRight:中央右揃え
- bottomLeft:下部左揃え
- bottomCenter:下部中央揃え
- bottomRight:下部右揃え
- clipBehavior、クリッピング、パフォーマンスに影響を与える可能性があります
- Clip.hardEdge: Stack のデフォルトオプション
- Clip.antiAlias: スムーズなクリッピング
- Clip.antiAliasWithSaveLayer
- Clip.none: クリッピング不要
- fit:子ビューのフィット方法
- StackFit.loose: 子コンポーネントのサイズを使用
- StackFit.expand: 親ビューの領域を満たす
- StackFit.passthrough: パススルー、Stack の親ビューのレイアウト方式を使用
- textDirection
- TextDirection.ltr
- TextDirection.rtl
Positioned の一般的な属性は以下の通りです:
- Positioned の一般的な属性
- child
- height
- width
- bottom
- left
- right
- top
alignment 整列#
使用するコードは以下の通りです:
class MyApp extends StatelessWidget {
  @override
  Widget build(BuildContext context) {
    var stack = new Stack(
      alignment: Alignment.bottomRight,
      children: [
        new Container(
          width: 300.0,
          height: 300.0,
          color: Colors.orange,
        ),
        new Container(
          width: 200.0,
          height: 200.0,
          color: Colors.green,
        ),
        new Text(
          'alignment bottomRight',
          style: TextStyle(color: Colors.white, fontSize: 21),
        )
      ],
    );

    return MaterialApp(
      title: 'StackView Widget',
      home: Scaffold(
        appBar: new AppBar(
          title: new Text('StackView Widget'),
        ),
        body: Center(
          child: stack,
        ),
      ),
    );
  }
}
効果は以下の通りです:
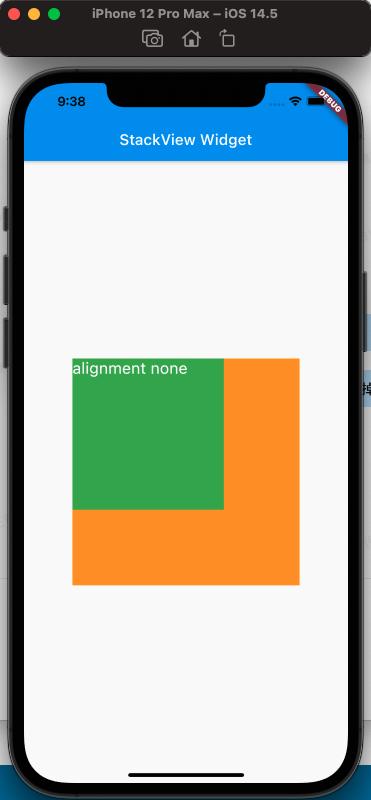
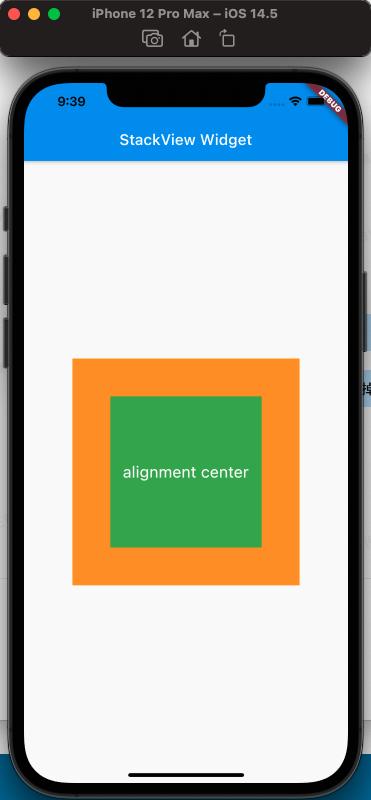
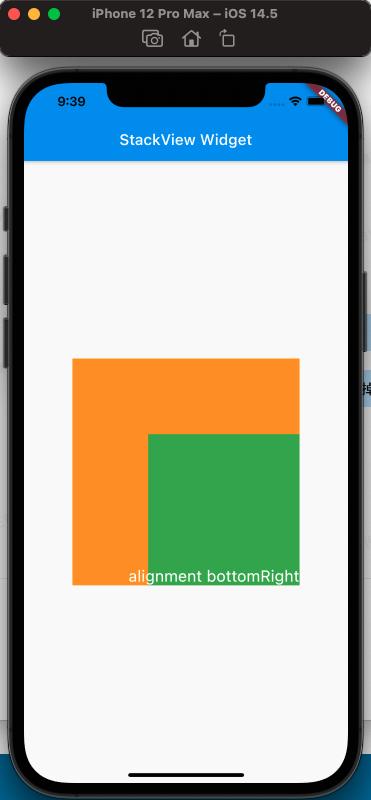
上記の比較から、alignmentの属性がStackの子ビューの設定に与える影響がわかります。
clipBehavior 属性#
clipBehaviorの効果を確認するために、Stackからはみ出す子ビューを作成する必要があります。Postitioned Widget を使用し、top、left を負の値に設定します。
コードは以下の通りです:
class MyApp extends StatelessWidget {
  @override
  Widget build(BuildContext context) {
    var stack = new Stack(
      clipBehavior: Clip.antiAliasWithSaveLayer,
      children: [
        new Container(
          width: 300.0,
          height: 300.0,
          color: Colors.orange,
        ),
        Positioned(
            child: new Container(
              width: 200.0,
              height: 200.0,
              color: Colors.green,
            ),
            left: -20,
            top: -20),
        new Text(
          'clip antiAliasWithSaveLayer',
          style: TextStyle(color: Colors.white, fontSize: 21),
        ),
      ],
    );

    return MaterialApp(
      title: 'StackView Widget',
      home: Scaffold(
        appBar: new AppBar(
          title: new Text('StackView Widget'),
        ),
        body: Center(
          child: stack,
        ),
      ),
    );
  }
}
効果は以下の通りです:
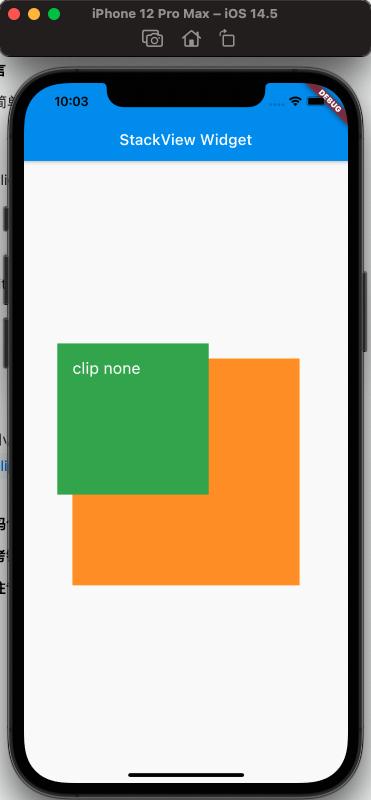
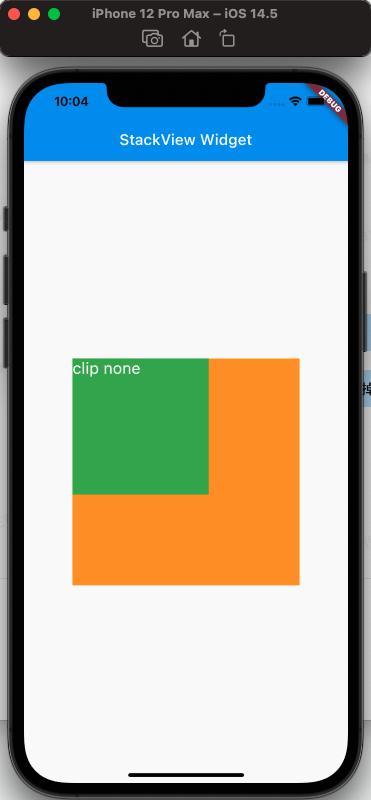
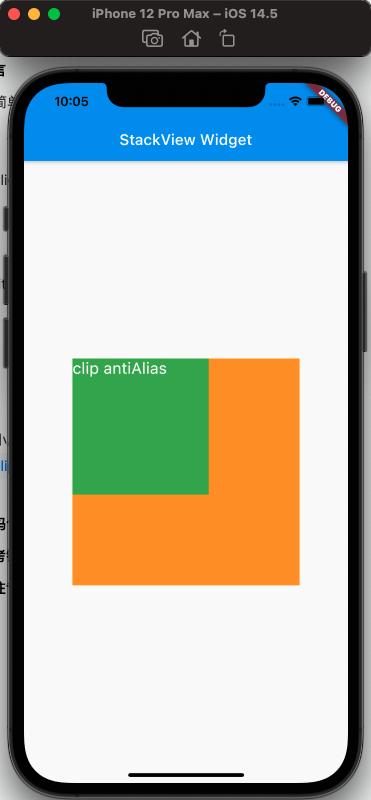
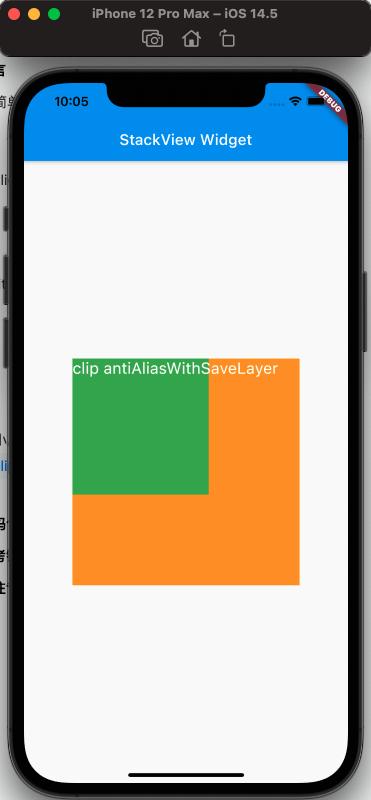
上記からclipBehaviorの効果がわかります。
fit 属性#
fit のフィット方法、fit の expand と loose 属性は簡単に区別できますが、loose と passthrough 属性の違いには特に注意が必要です。違いを区別しやすくするために、ここではRowを親ビューとしてStackを使用します。
簡単に理解すると、expand は親ビューを満たし、loose は子ビューのサイズに従い、passthrough は親ビューの親ビューの制約に従います。
使用するコードは以下の通りです:
class MyApp extends StatelessWidget {
  @override
  Widget build(BuildContext context) {
    var stack = new Stack(
      // alignment: Alignment.bottomRight,
      fit: StackFit.passthrough,
      children: [
        new Container(
          width: 300.0,
          height: 300.0,
          color: Colors.orange,
        ),
        new Container(
          width: 200.0,
          height: 200.0,
          color: Colors.green,
        ),
        new Text(
          'StackFit passthrough',
          style: TextStyle(color: Colors.white, fontSize: 21),
        ),
      ],
    );

    return MaterialApp(
      title: 'StackView Widget',
      home: Scaffold(
        appBar: new AppBar(
          title: new Text('StackView Widget'),
        ),
        body: Center(
          child: Row(
            children: [Expanded(child: stack)],
          ),
        ),
      ),
    );
  }
}
効果は以下の通りです:
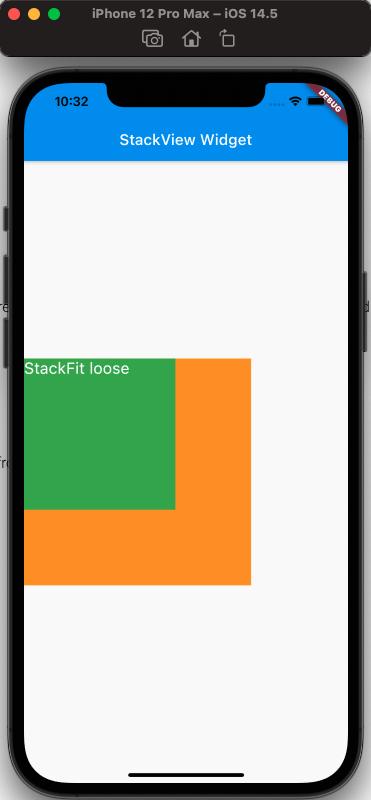
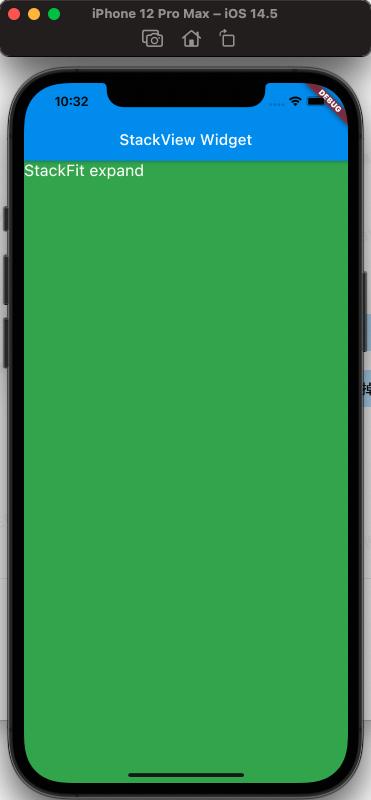
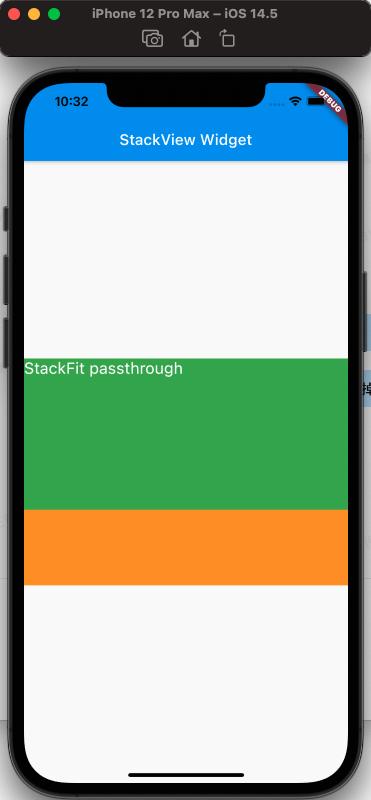
上記から、StackFit が passthrough 属性のとき、Row の Expand のレイアウトを使用し、StackFit が loose のときは子ビューのレイアウトを使用し、StackFit が expand のときは Stack のレイアウトを使用することがわかります。
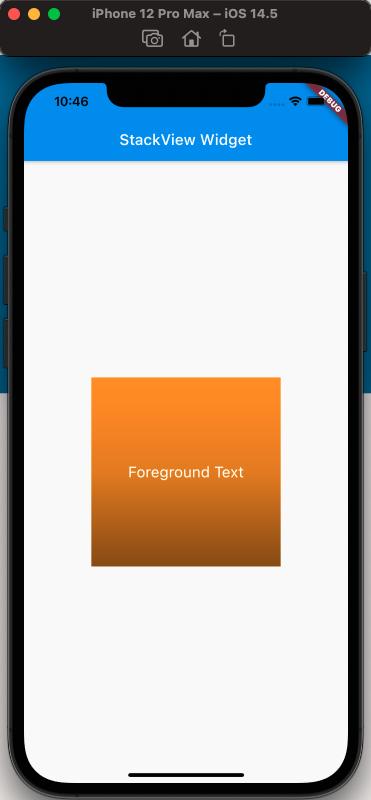
Stack を使用してグラデーション背景の効果を実現#
コードは以下の通りです:
class MyApp extends StatelessWidget {
  @override
  Widget build(BuildContext context) {
    var stack = SizedBox(
      width: 250,
      height: 250,
      child: Stack(
        children: [
          Container(
            width: 250,
            height: 250,
            color: Colors.orange,
          ),
          Container(
              padding: const EdgeInsets.all(5.0),
              alignment: Alignment.center,
              decoration: BoxDecoration(
                  gradient: LinearGradient(
                colors: [
                  Colors.black.withAlpha(0),
                  Colors.black12,
                  Colors.black45,
                ],
                begin: Alignment.topCenter,
                end: Alignment.bottomCenter,
              )),
              child: const Text('前景テキスト',
                  style: TextStyle(color: Colors.white, fontSize: 20.0))),
        ],
      ),
    );

    return MaterialApp(
      title: 'StackView Widget',
      home: Scaffold(
        appBar: new AppBar(
          title: new Text('StackView Widget'),
        ),
        body: Center(
          child: stack,
        ),
      ),
    );
  }
}
効果は以下の通りです:
参考#
Stack Dev Doc
Positioned Dev Doc
StackFit Dev Doc
Flutter 無料動画第 3 シーズン - レイアウト